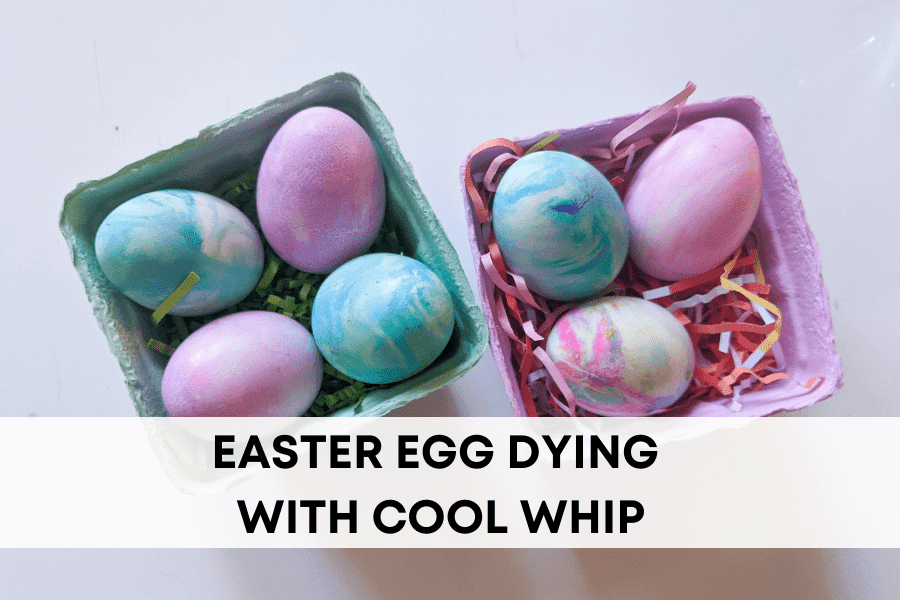
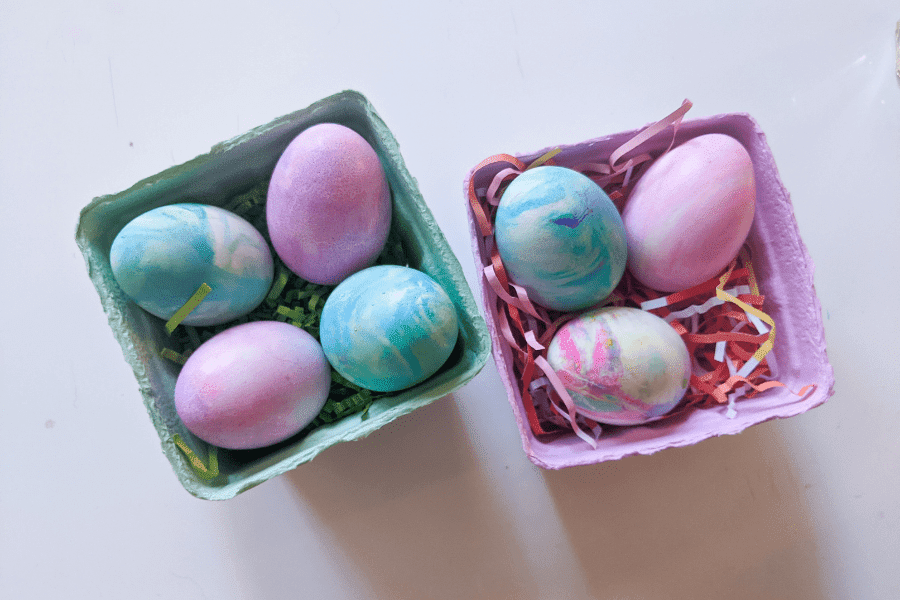
Dye your Easter eggs with Cool Whip this year! It’s our favorite way to dye eggs with the kids. It’s super easy to set up, the marble effect on the eggs is beautiful and the eggs are still edible afterward, unlike with shaving cream.
Our favorite holiday of the year is just around the corner and I’m just as excited as my kids. We’ve been making a ton of easter crafts and decorating the house. Next up on the list is dying our Easter eggs.
When it comes to Easter eggs, they are an absolute must for easter and pretty to look at BUT making these with little kids can be very messy. My kids are 2 and 4 and I’m always looking for ways to make crafts fun and creative but at the same time, I try to avoid activities that are super messy. My kids LOVE dying easter eggs and I’m always looking for new ways to get this task done. We’ve tried all different sorts of methods, such as Shaving Cream, but threw the eggs out afterward (what a waste) because I just couldn’t stop thinking about the chemicals in the shaving cream.
We like to eat the hard-boiled eggs afterward in a salad or just as a snack so the idea of eating an egg that’s been dyed with shaving cream was a no go for me. Since the shell of an egg is porous so the ingredients of shaving cream can get into the egg itself making it inedible. Yuck!
When I saw you could use Whipped Cream to dye the eggs, I was blown away and immediately had to give it a try with the girls.
This post is all about how to dye Easter Eggs with Whipped Cream.
How to dye Eggs with Cool Whip
Dying your eggs with Whipped Cream is pretty much the same process as dying them with Shaving Cream. It’s a much safer alternative when doing it with kids because I can guarantee you one is going to lick the colorful Whipped Cream.
What you need to dye the eggs:
First, you want to soak your hard-boiled eggs in Vinegar for about 5-10 minutes. The Vinegar will help the colors adhere to the shell. This step isn’t necessary but I recommend it if you want more vibrant colors. 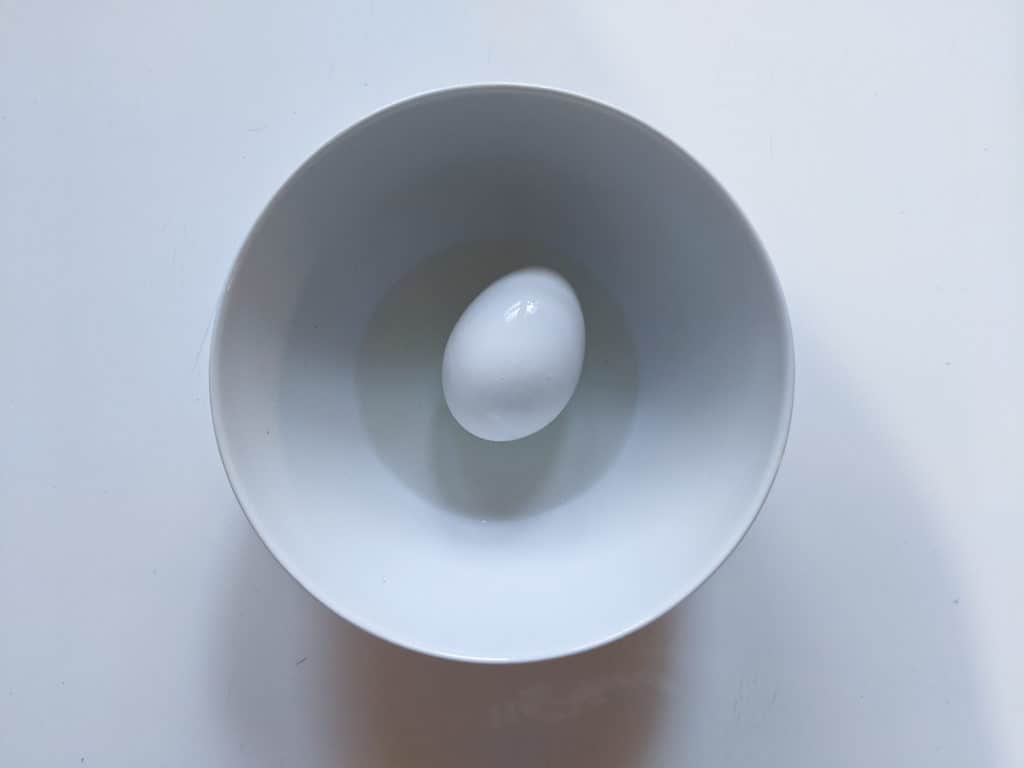
Dry your eggs on a towel.
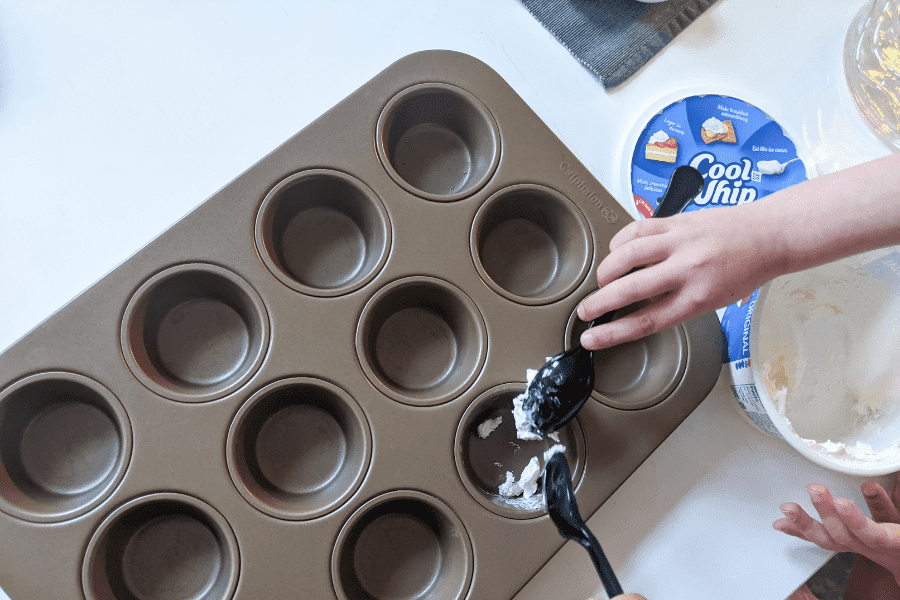
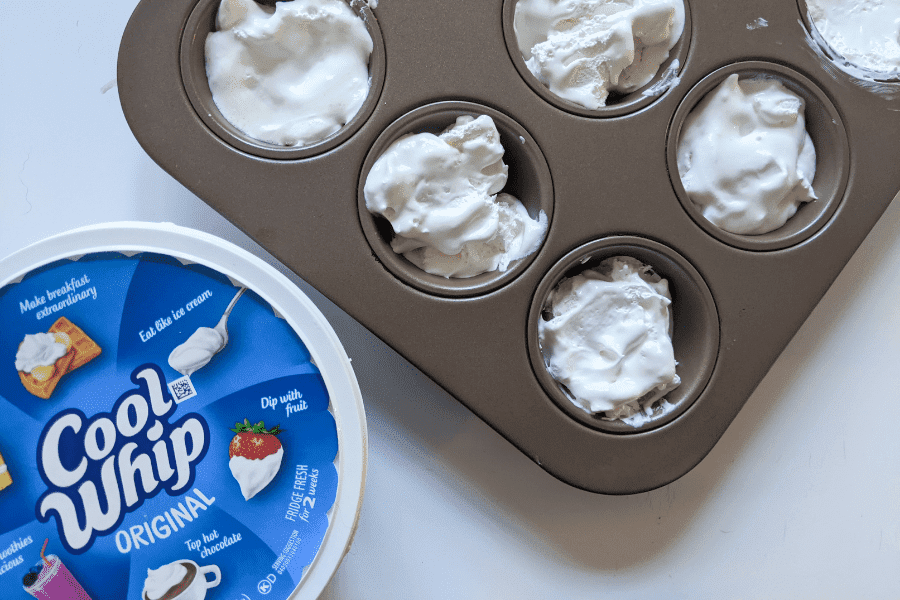
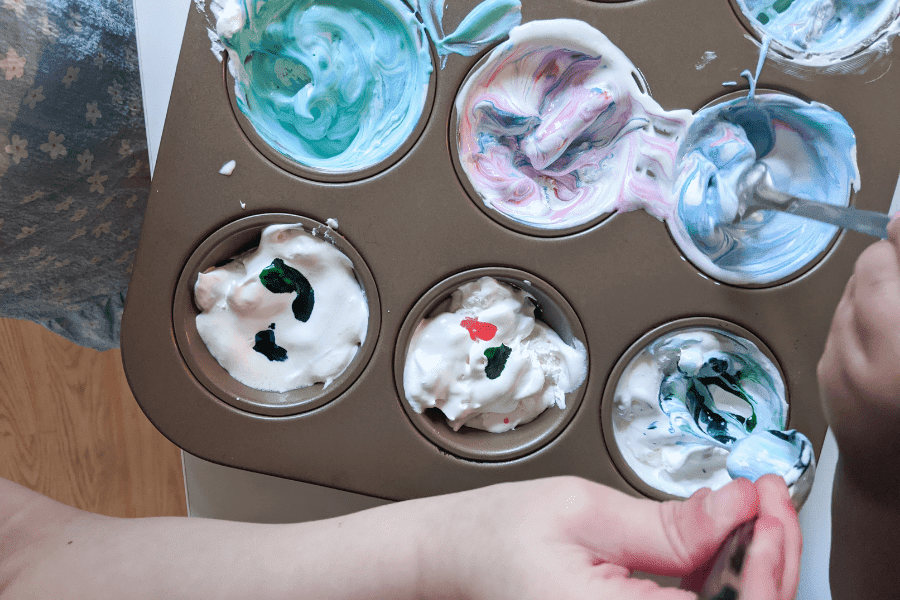
I found that using a Muffin tin to color the eggs was easiest for the kids. You want to spread a good amount of Cool Whip into each tin, enough to cover the eggs.
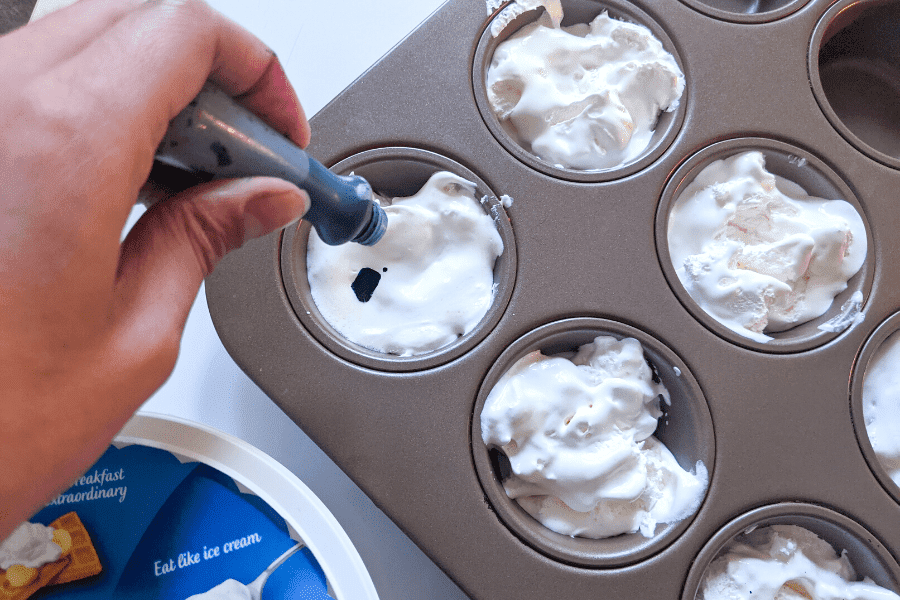
Add food coloring to the Whipped Cream and swirl the colors with a spoon.
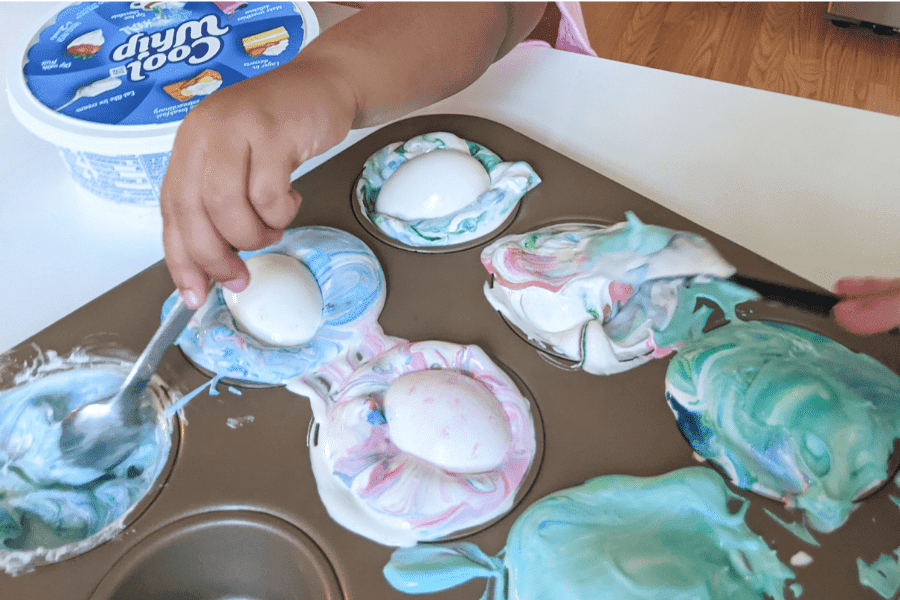
Then add the eggs to the muffin tin and cover them in Cool Whip. Make sure all sites are covered and then let them rest there for about 5-10 minutes.
Last step: Rinse the eggs under water and let me try completely on a towel.
ENJOY!!
Wasn’t this such a fun and easy way to dye your Easter eggs with the kids! My kids had a blast and I almost feel bad eating them because they look so pretty!!
If you are looking for more fun crafts and activities to do with your kids, check out this post here:
{ Easy Bunny Paper Plate Craft }
This post was all about how to dye Easter Eggs with Cool Whip
